
Payments Prerequisites (Brazil)
Before you can use our OFPI solution and start collecting payments, you’ll need to:
-
Signup for a Belvo Account.
-
Create your Payments secret keys.
-
Register your webhook so we can let you know about important events during the payment process, such as payment confirmations.
-
Register a bank account that will receive funds.
-
Prepare callback URLs. These are URLs that the user should be redirected to when they complete or cancel a payment, or if an error occurs during the payment process.
Signup for a Belvo Account
To get started with Belvo, you need to create a Belvo account and generate your API keys.
- Go to the Belvo signup page and fill in the required fields.
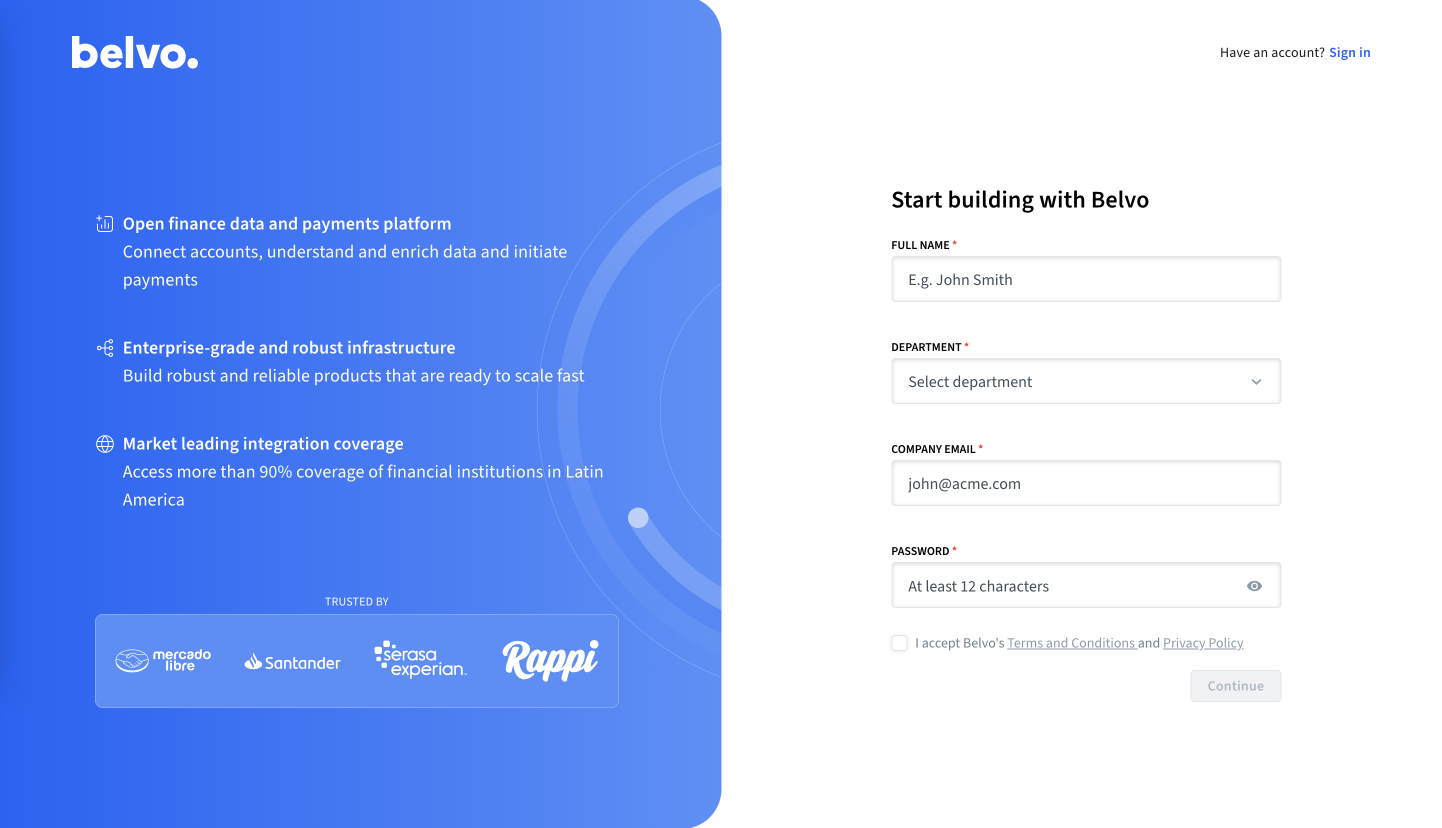
Belvo sign-up page
- Check your inbox for an email from us and confirm your email address.
The subject line will be: [Belvo] Please Confirm Your Email Address
✳️ Awesome! Once you click on the link in the email, you'll be redirected to the Belvo dashboard! In the dashboard, you can set up your account, check your activity logs, and generate your Belvo API keys.
Create your payments secret keys
Now that you have an account - let's generate some API keys to start working with Belvo.
To generate your API keys:
- In the Production environment, go to the Developers - API Keys section of the dashboard.
- Click on the Payments API Keys tab.
- Click on Generate API Keys, which will automatically generate your API keys.
- In the pop-up, click the Download API keys button. Make sure to store this somewhere secure.
Register a webhook
Our payment solutions utilize webhooks to inform you regarding the progress of your payments, any errors that occur, and when a payment is completed successfully. As such, you will need to set up a webhook to receive events from Belvo. Your server must respond with a 200 OK to our webhook events.
If our system does not receive 200 status code, it automatically tries to send the request again. This retry process will happen up to three times, with each attempt spaced 60 seconds apart. For example, if the first attempt fails, our system waits for 60 seconds before trying again and will continue this pattern until it either receives a successful response or reaches the maximum of three retries.
You can receive webhook events from the following IP addresses:
3.130.254.4618.220.61.18618.223.45.212
We highly recommend you whitelist these IP addresses so that you can receive webhook events.
To add your webhook URL to Belvo's system:
-
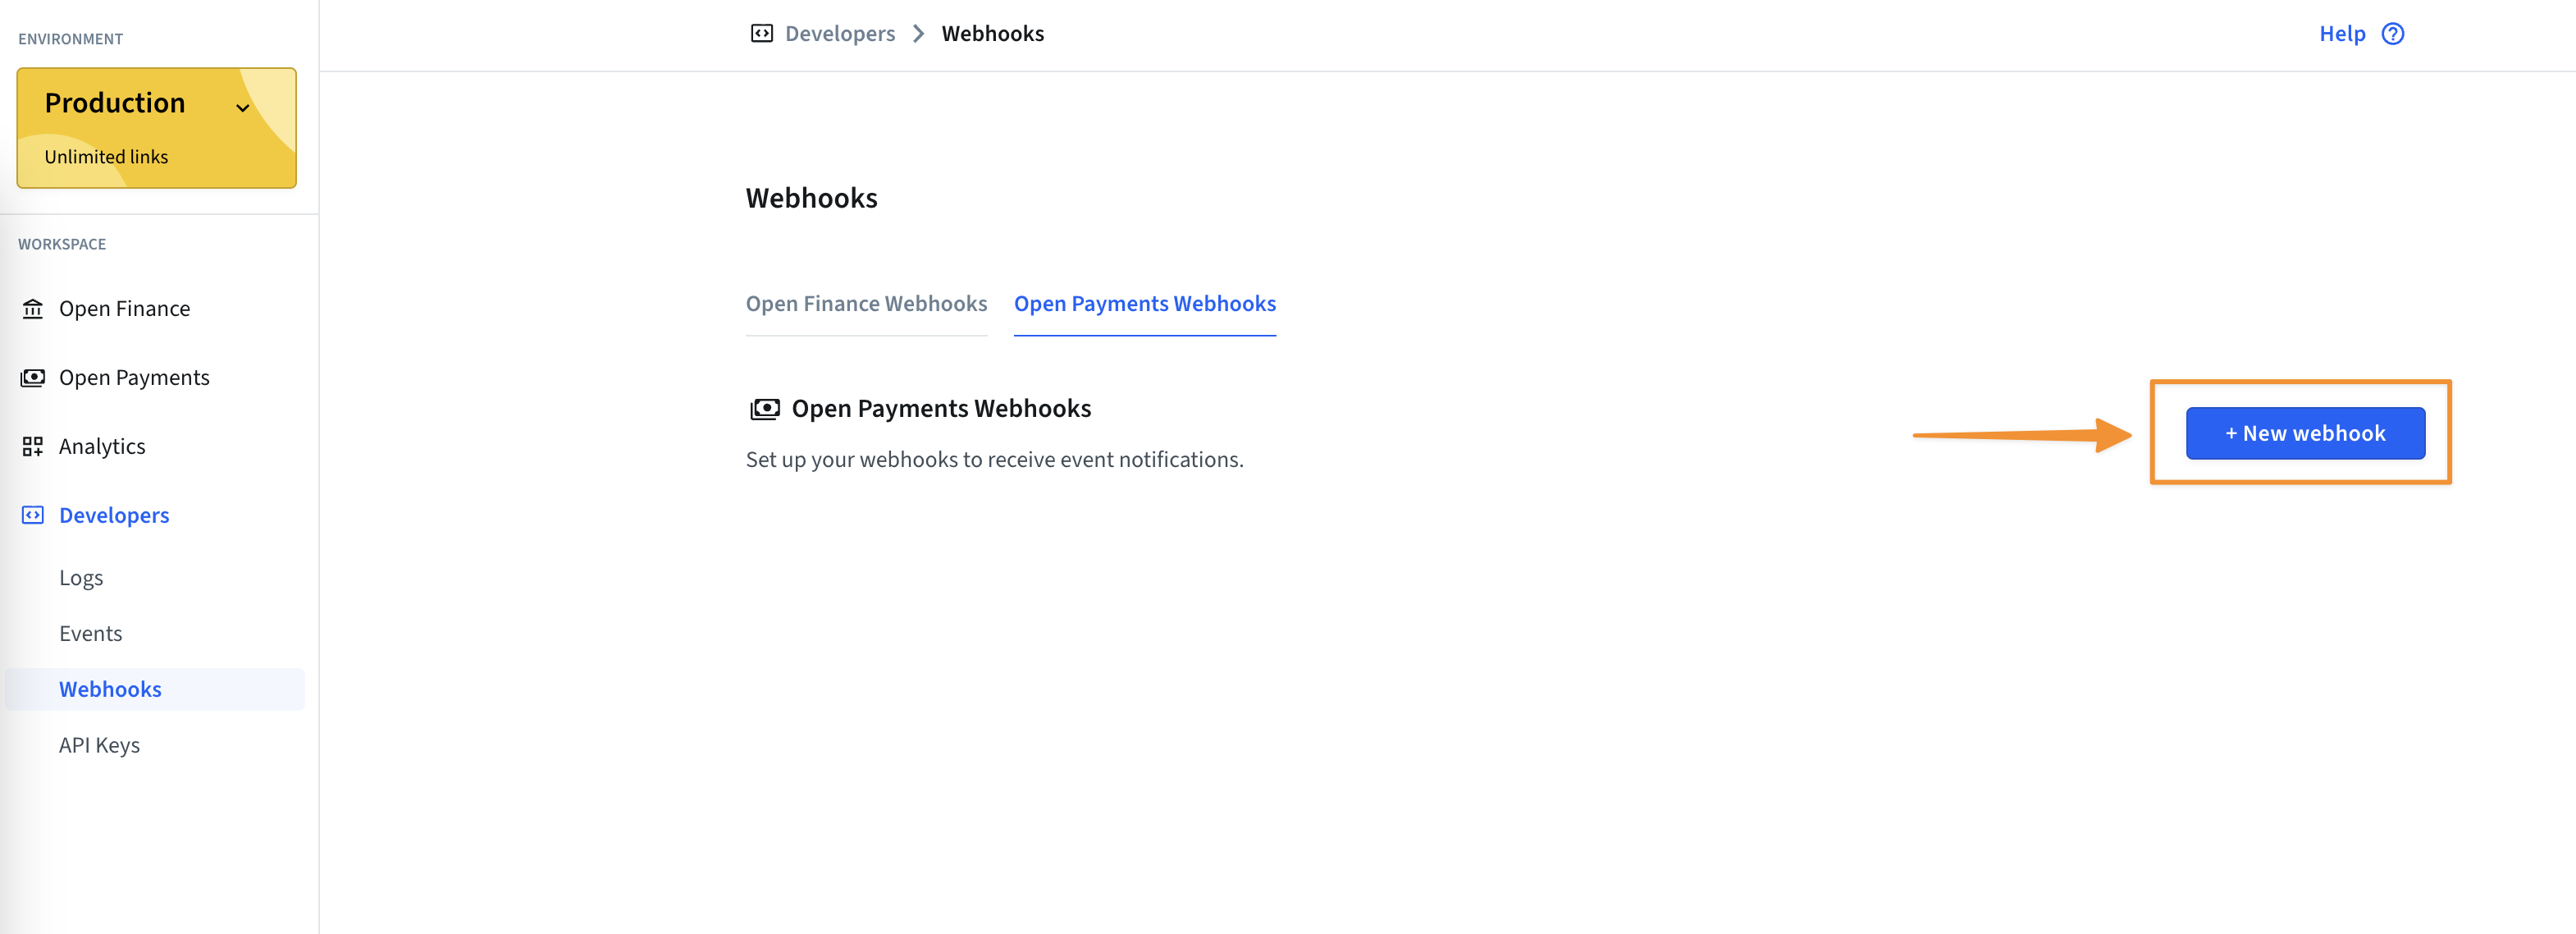
In your Belvo dashboard, go to the payment webhooks section.
-
In the Open Payments Webhooks tab, click +New webhook.
-
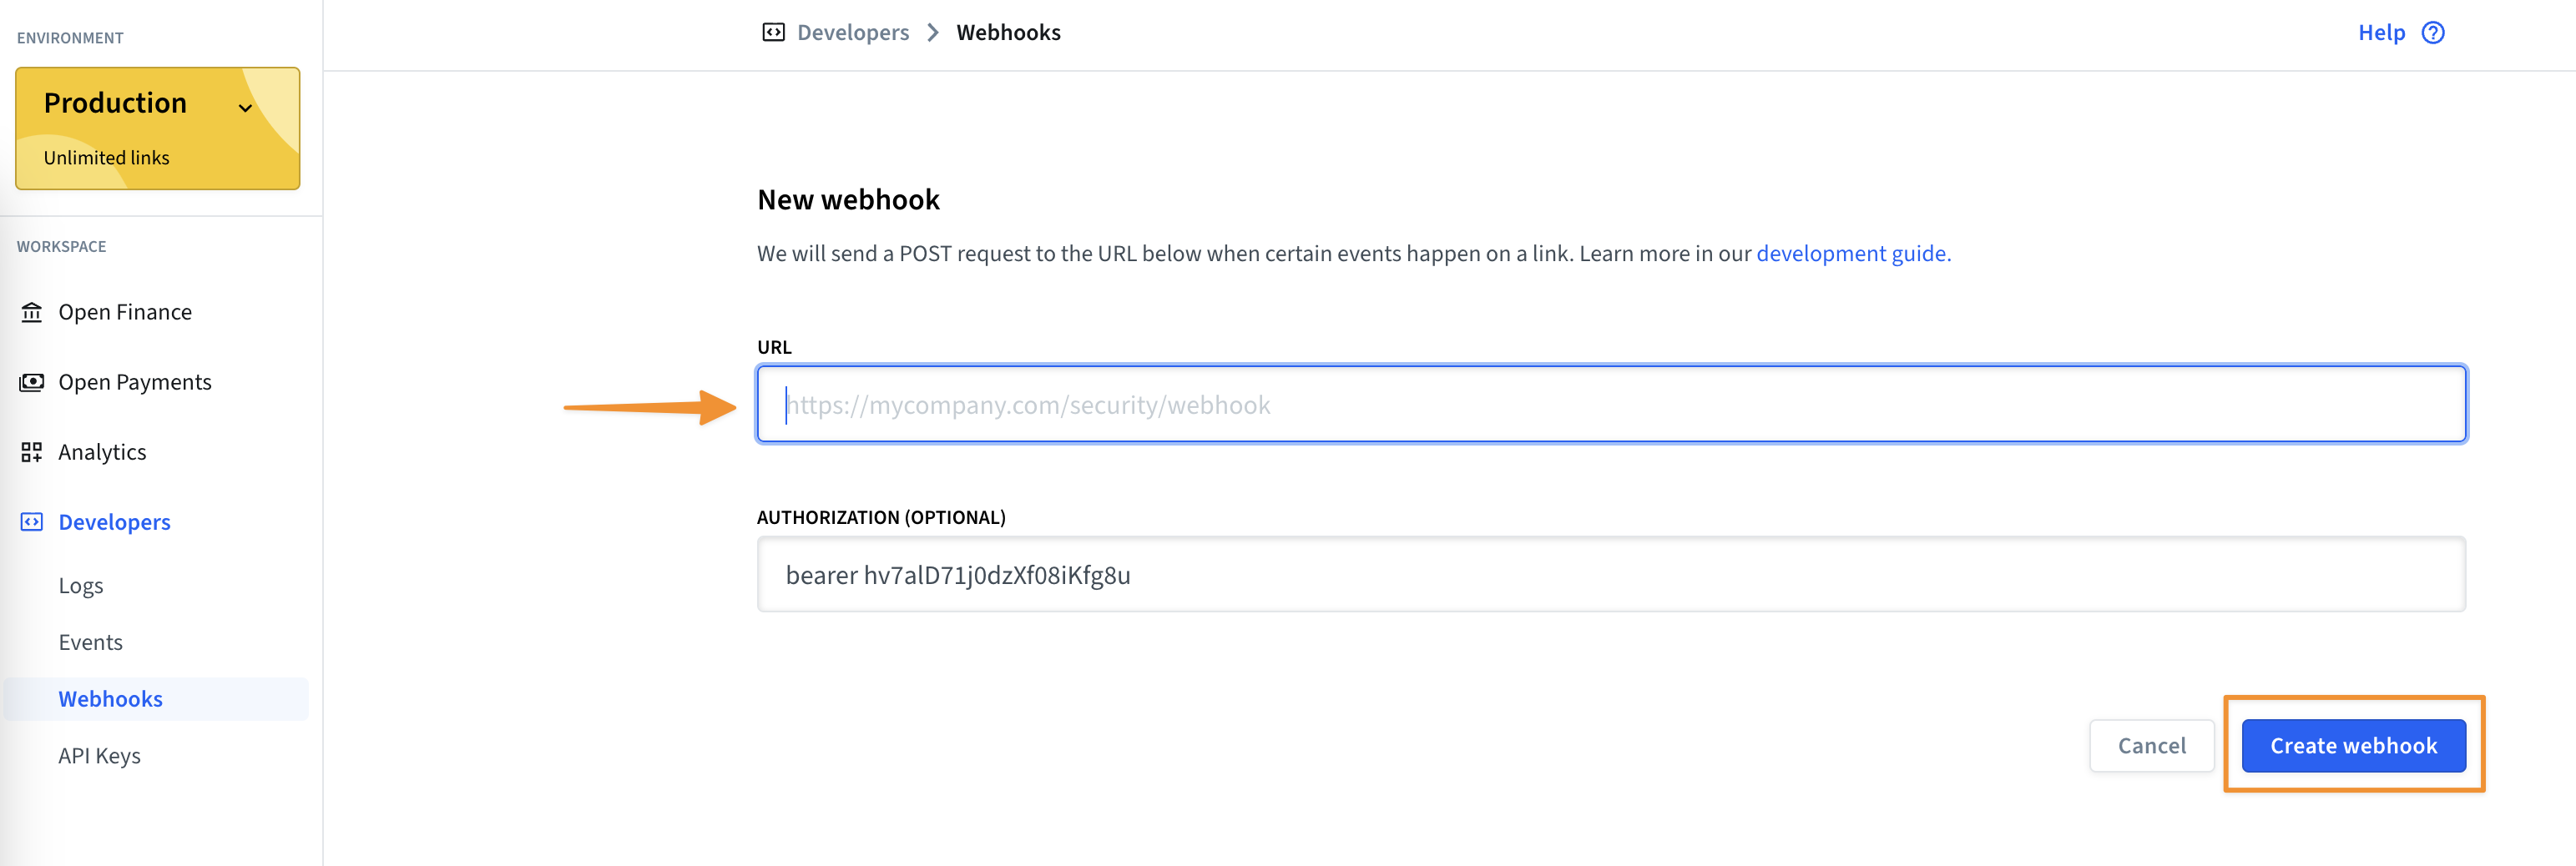
Fill in the New webhook form with the required information.
- URL: the URL to receive the webhook notifications.
- Authorization: an optional bearer token to use if your URL is protected.
-
Click Create webhook.
Register a beneficiary bank account
To use Belvo’s OFPI product, you need to register at least one bank account that will receive funds. The number of bank accounts you need to register depends on your use case.
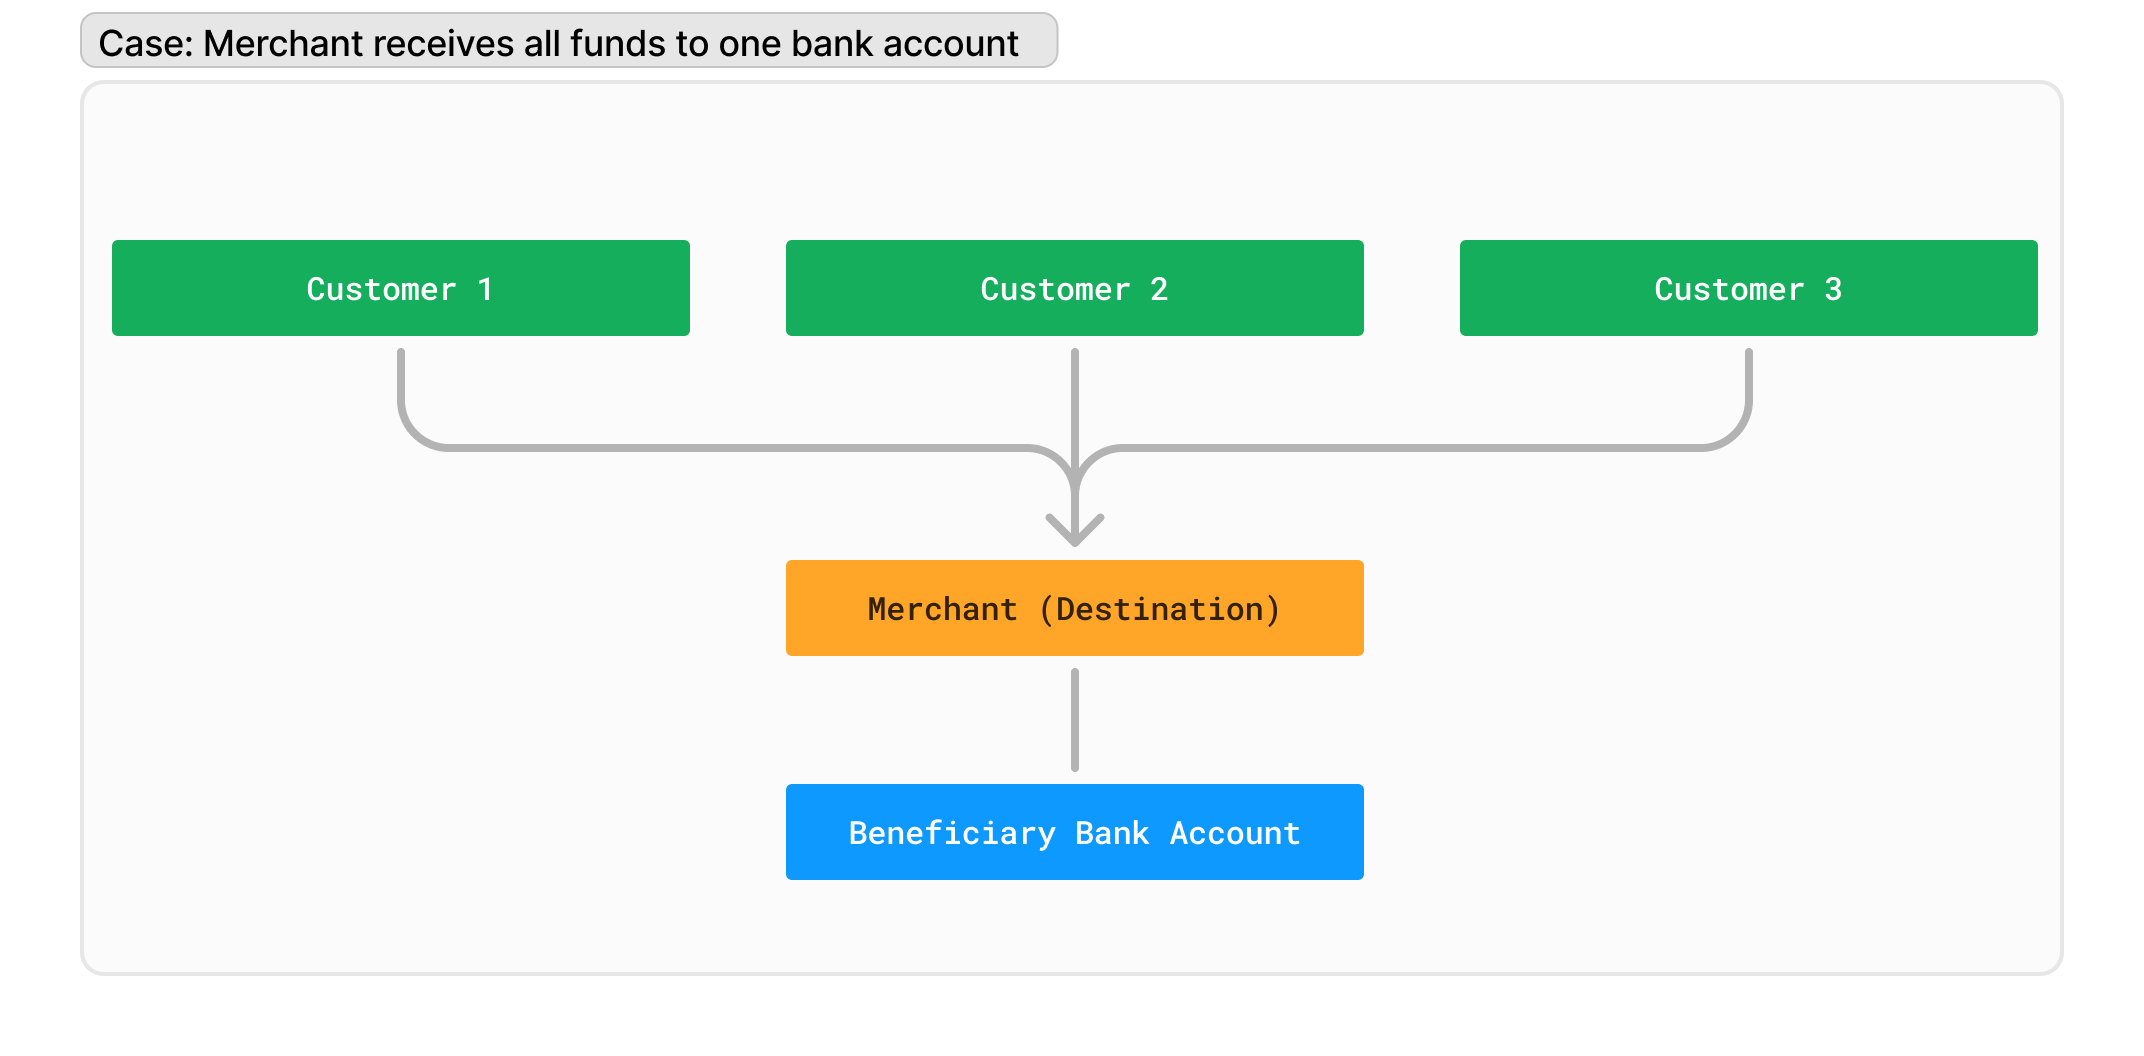
Use Case 1
| Use Case | Instructions |
|---|---|
| You will always receive funds into the same bank account. | You just need to register that one bank account where you want to receive your funds. |
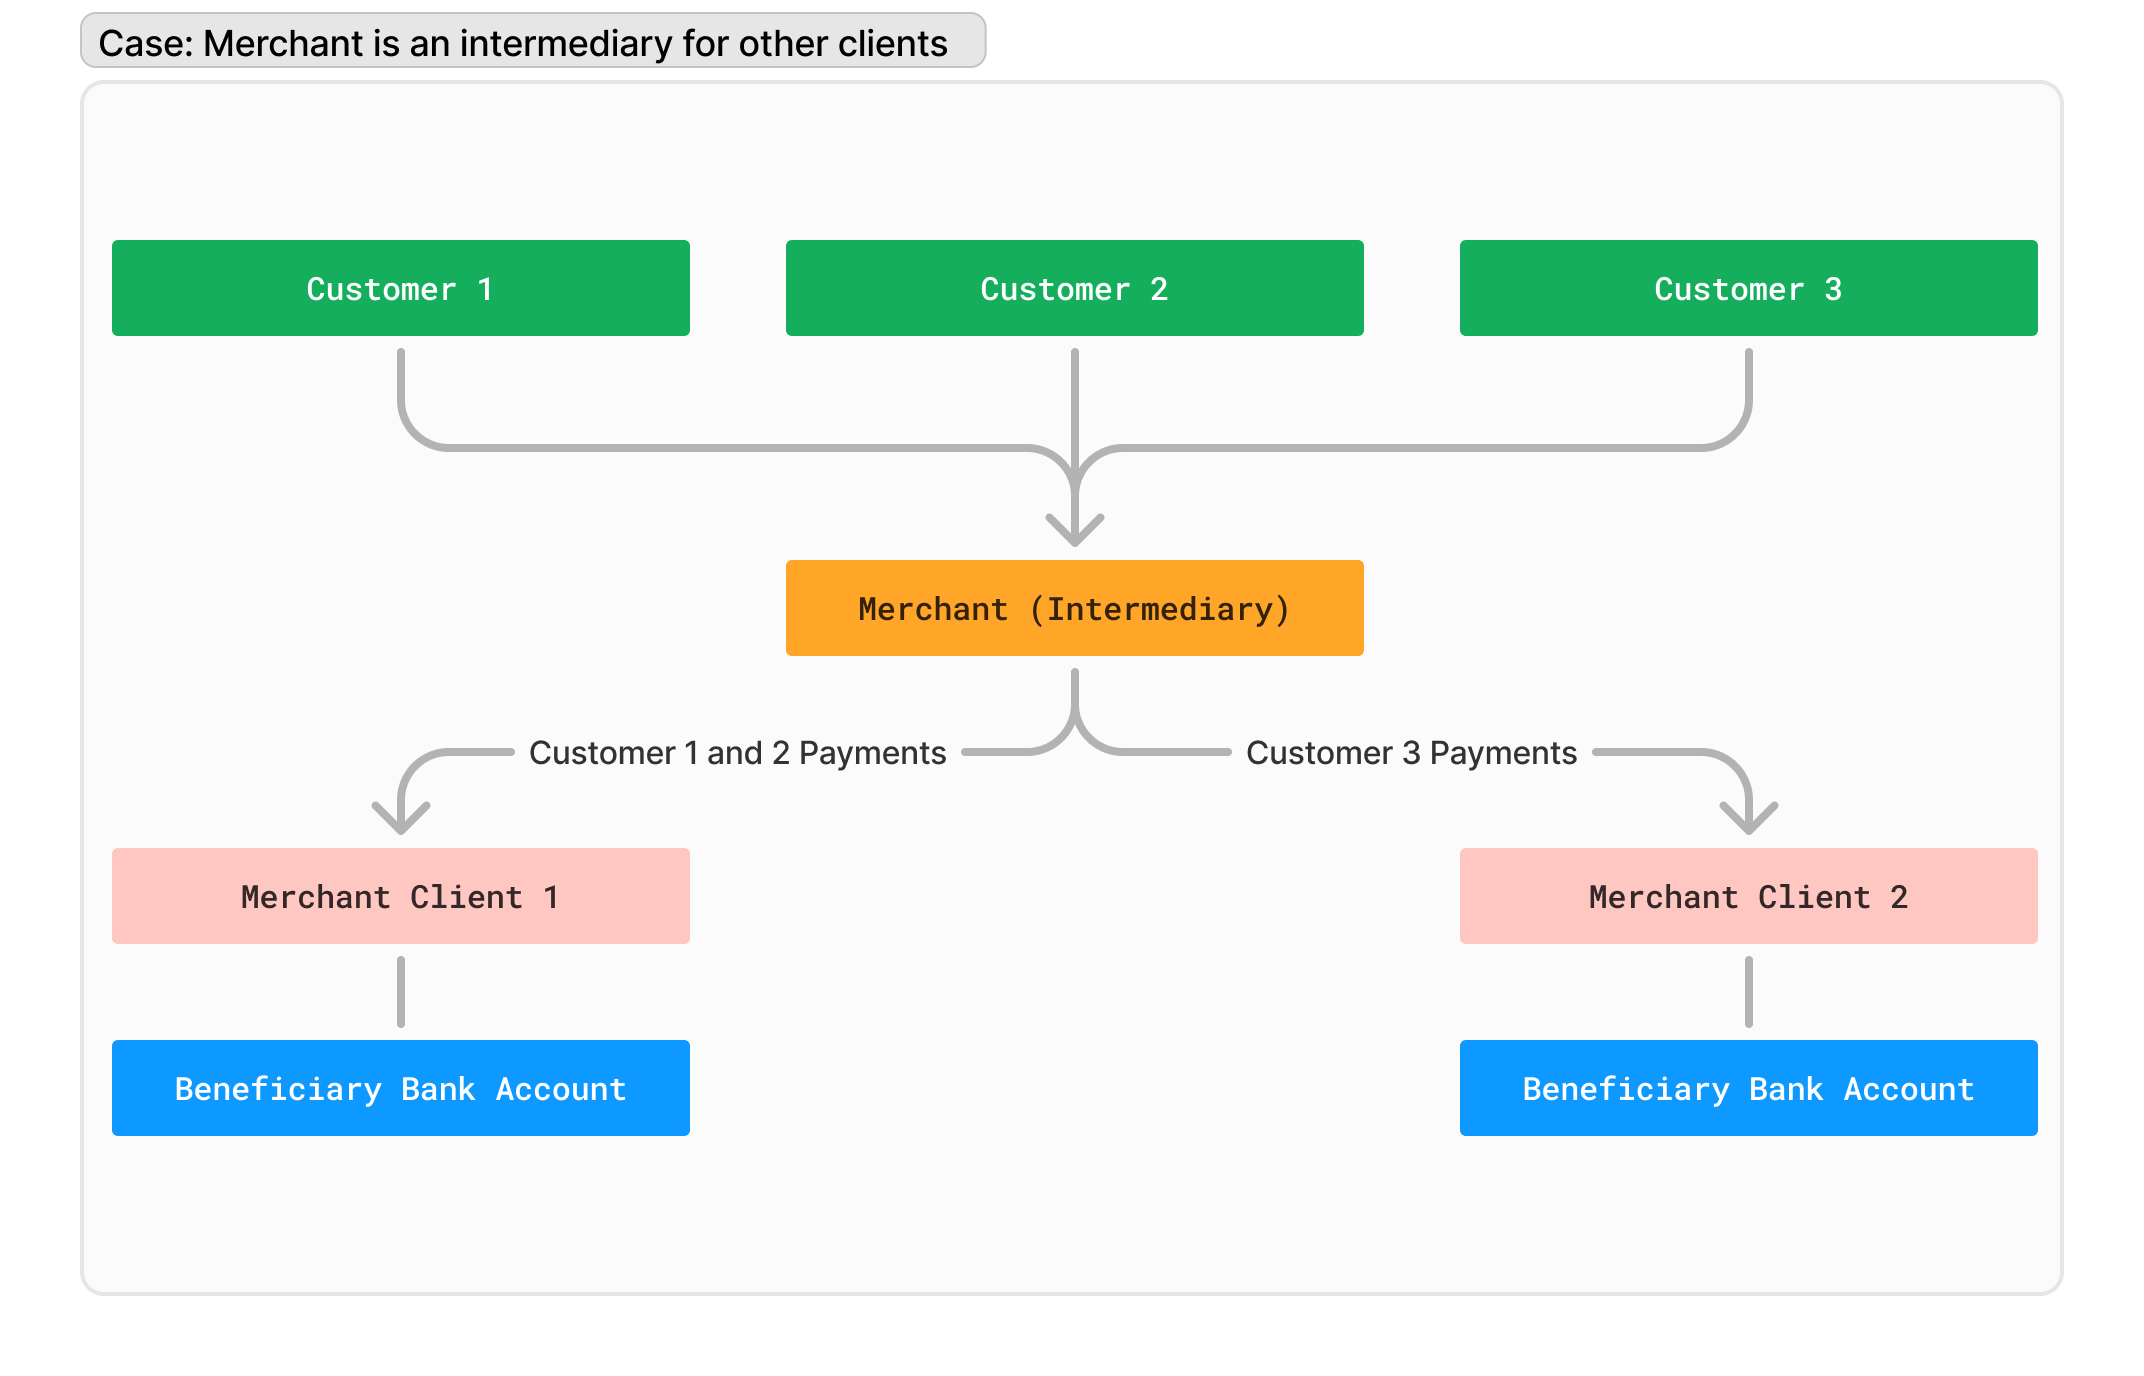
Use Case 2
| Use Case | Instructions |
|---|---|
| You are an intermediary that processes payments for several clients and will deposit money into your clients’ bank accounts. | You need to register a bank account for each client that will receive money into their bank account. |
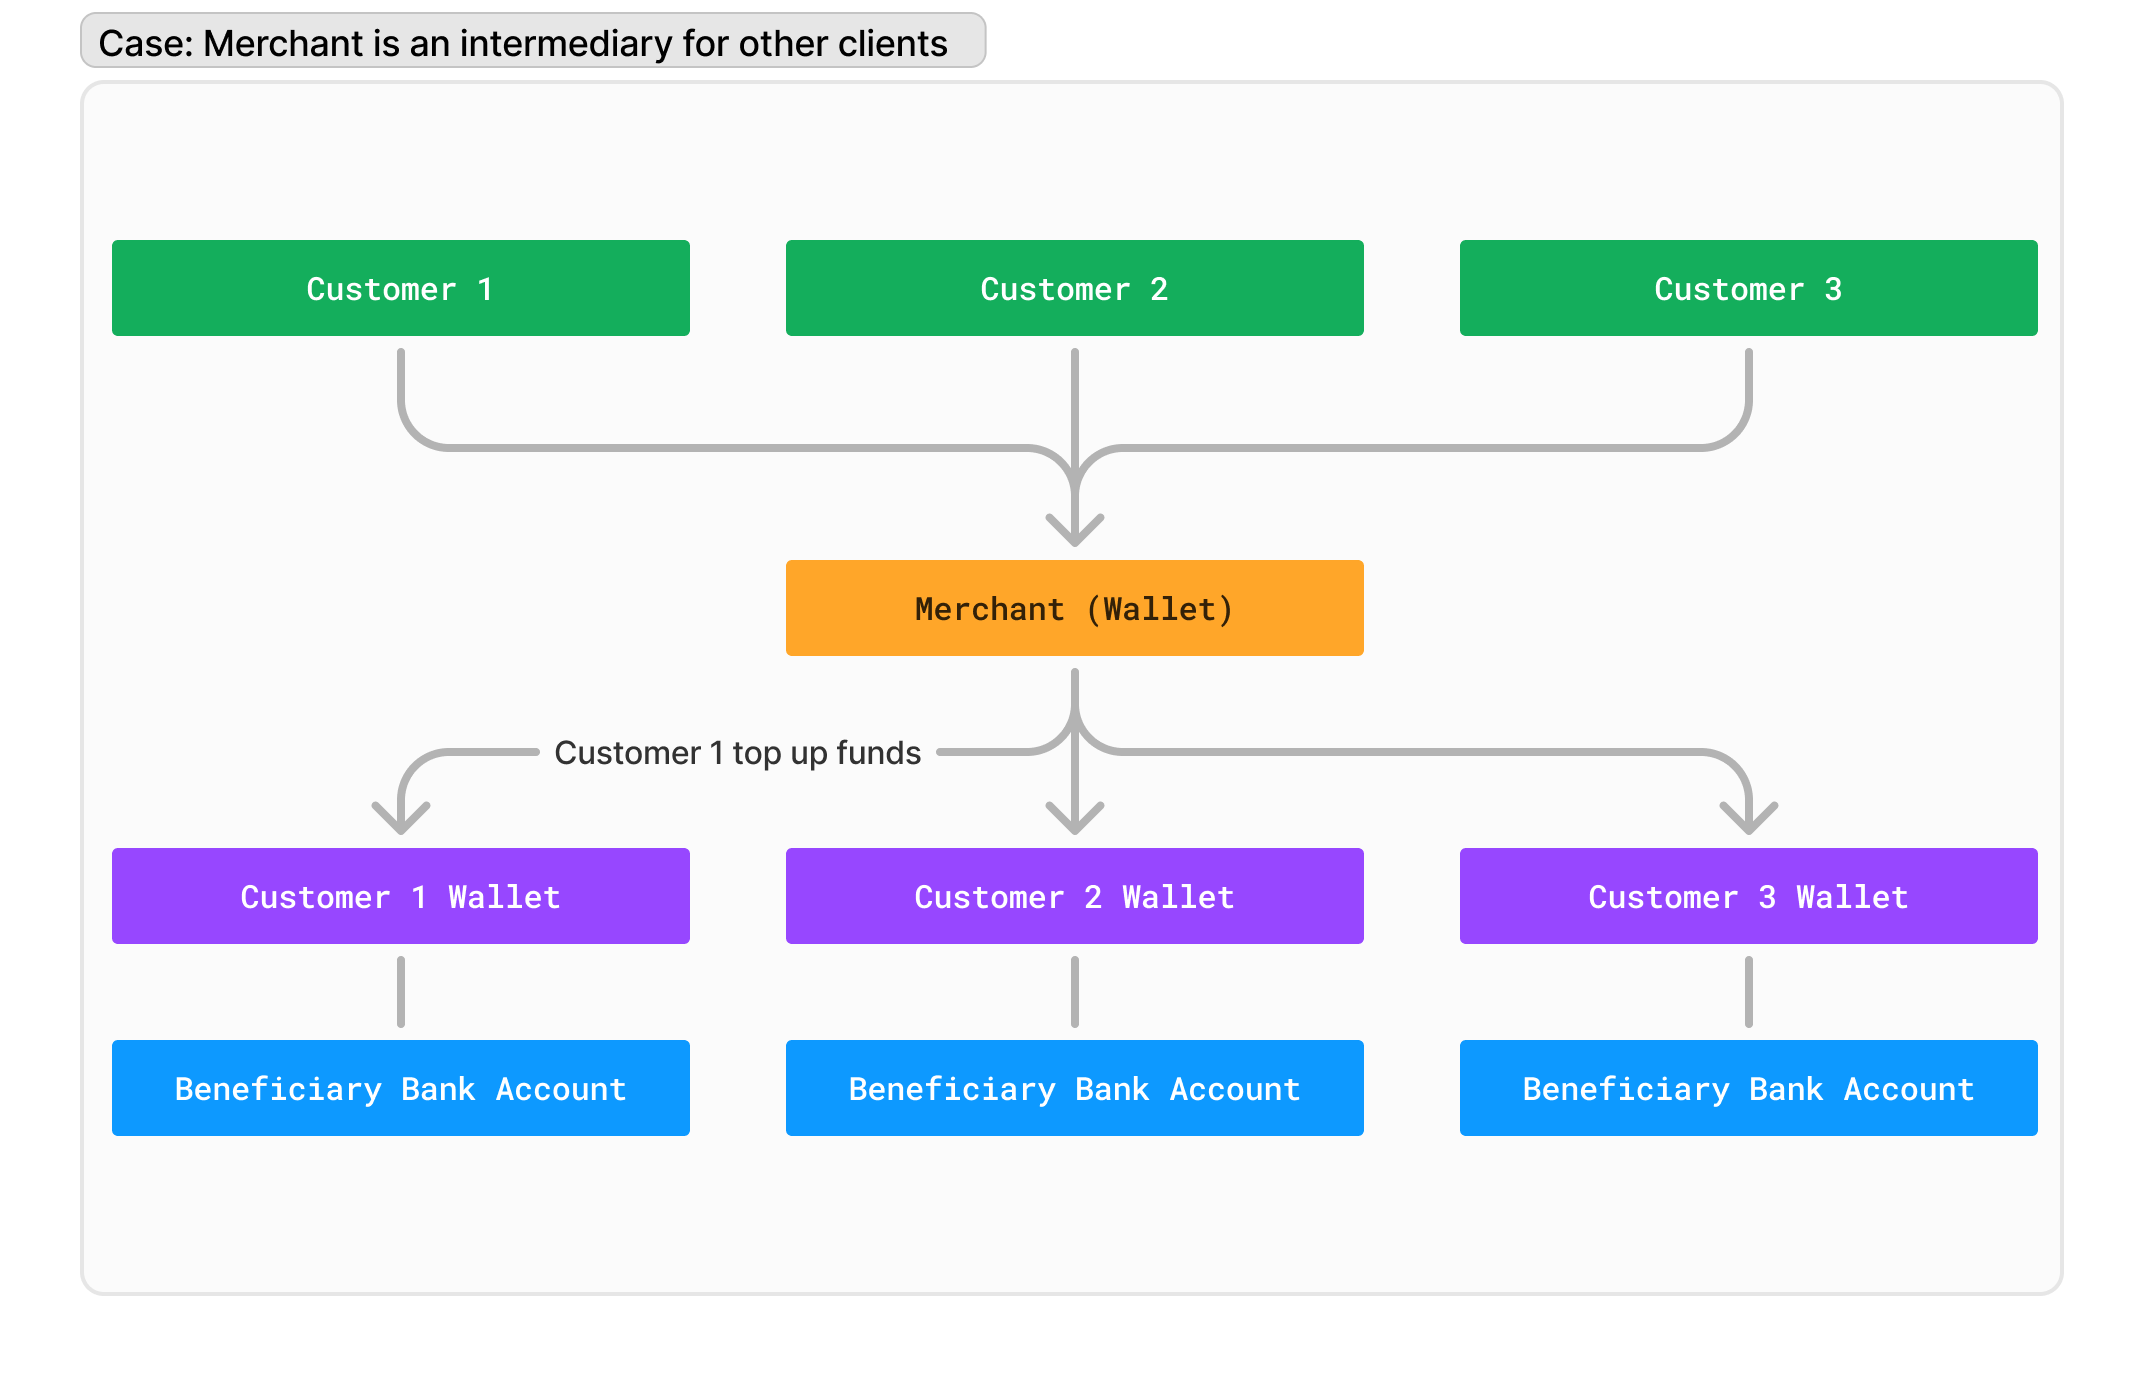
Use Case 3
| Use Case | Instructions |
|---|---|
| You offer a ‘wallet’ within your application that your customers can ‘top up’. | You need to register a bank account for each client ‘wallet’. |
Instructions
To register a bank account, you need to make a POST Register a new bank account call to our Bank Accounts resource. Check out the recipe below for a detailed walkthrough of the request body payload.
One you make a successful request, you will receive the following response from our API. Make sure you save the id from the response - you’ll use it as the beneficiary_bank_account in the future when you create payment links or payment intents.
{
  "id": "1c83ead8-6665-429c-a17a-ddc76cb3a95e",
  "created_at": "2020-04-23T21:30:20.336854+00:00",
  "created_by": "62053a72-e2d5-4c95-a578-6b16616900ac",
  "institution": "f512d996-583a-4a91-8b5b-eba2e103b068",
  "details": {
    "country": "BRA",
    "account_type": "CHECKINGS",
    "agency": "0444",
    "number": "45722-0"
  },
  "holder": {
    "type": "BUSINESS",
    "information": {
      "identifier_type": "CNPJ",
      "name": "Caetano Veloso Entertainment Universe",
      "identifier": "23100299900"
    }
  }
}
| Parameter | Type | Description |
|---|---|---|
id | string | Belvo's unique identifier for the bank account. You will need this ID when creating a payment intent or a payment link to indicate which account should receive the funds. |
created_at | string (date-time) | The ISO-8601 timestamp of when the data point was created in Belvo's database. |
created_by | string | The unique ID for the user that created this item. |
institution | string | Belvo's unique ID for the institution that the bank account is created in. |
details | object | Details regarding the bank account (as provided by you in the POST call). |
holder | object | Details regarding the account holder (as provided by you in the POST call). |
Create callback URLs
Your users will need to be redirected back to your application once they completed the payment process. The callback URLs you provide depend on whether you are using a Direct API integration or using our Payment Links widget.
Direct API (Payment Intents)
For Payment Intents, you just need to have one URL to redirect the user to once they have confirmed the payment in their institution (success or failure).
Payment Links
For Payment Links, you will need to provide two URLs:
success: The URL where the user should be redirected to after they complete the flow in the payment link widget.cancel: The URL where the user should be redirected to if they exit the widget before completing the flow.
Done!
Once you've completed all these prerequisites, you can now start processing payments using Belvo's API.
Updated 4 months ago