
Handling OFPI’s redirect mechanism
This is an optional guide on how to implement your own redirect mechanism to process payment intents in Brazil's OFPI network. If you prefer Belvo to handle the redirect for you (and simplify your development needs), you can skip these steps 😎.
According to Brazil’s regulations, you must ensure that after your customer confirms their payment in their institution that they are redirected to the UI where the payment was initiated. Due to the way that the institutions return the information to complete the payment process, you need to:
- Set up a redirect page to programmatically extract the essential information.
- Send a POST request with the information.
Setting up a redirect page
After your customer confirms the payment in their institution, the institution will redirect your customer back to a URL (provided by you in the POST call to create a payment intent), after which you will need to redirect your user back to where the payment was initiated (your payment flow).
The purpose of this redirect page is to transform the URL received from the Open Finance Institution and send it to your backend so that the payment intent can be tracked correctly.
Where to host the page?
We highly recommend that you host it already on your backend, as it will provide a quicker and lighter experience for your customer.
Once you have set up your redirect page and are hosting it in your backend, please contact our support team with the URL.
Why do you need a redirect page?
The institution can send through the parameters in two ways:
- URL query parameters
your-url.com/?code={code_value}&id_token={id_token_value}&state={state_value} - URL fragments
your-url.com/#code={code_value}&id_token={id_token_value}&state={state_value}
If the institution uses query parameters, then it’s possible to process the GET request directly in your backend and follow the payment request. However, as the institution can also send this through as a fragment (which can only be processed by a browser), this URL must be modified into a query URL that can then be processed by your backend.
So we recommend the following solution:
1. Implement HTML redirection page
The URL that the institution redirects your customer to responds with a lightweight HTML page. This HTML page includes a brief explanation to the user that they are being redirected to and a small script that will modify the URL that the institution sends (please see our HTML example below as well as the suggested branding options).
2. Implement backend handler
The script contained in the HTML will review the URL, and if it contains fragments, it will convert the URL to use query parameters. It will additionally add a new query parameter to the end of the URL (sanitized=true) and update the URL in the browser. This will cause a new redirect to the same endpoint, but with a properly formatted URL that can be processed by your backend.
We recommend that you implement a handler on your backend that checks the incoming URL from the institution for the
sanitized=truequery parameter. If the parameter is present, then you can proceed with formulated the POST request. If not, serve the HTML redirection page.
The result of the script included in the provided HTML will be a transformed URL that can be processed by your backend to create the POST payload to Belvo. You will need to extract the values of the following keys in the query string:
your-redirect-url.com/
	?state={state_value}
	&code={code_value}
	&id_token={id_token_value}
	&error={error_value} # Only be present if an error occured in the payment process
	&error_description={error_description_value} # Only be present if an error occured in the payment process
  &sanitized=true # Parameter added by Belvo's script.
Extract query parameters
Your backend extracts the query parameters and sends them in a POST request to Belvo (see Setting up the POST call). Belvo’s response to this POST request will be the actual Payment Intent id that is linked to this payment, so that you can continue the flow on your side and redirect the user to the actual payment.
Setting up the POST call
Once you have your redirect page set up, each time your customers are redirected by the open finance institution to that page, and the URL is transformed, your backend will receive three to five fields that you must then forward to Belvo using POST call below. This is required as you will need to receive the payment-intent.id of that user to know where to redirect them to in your payment flow.
curl --request POST \
     --url https://api.belvo.com/payments/payment-intents/consent/ \
     --header 'accept: application/json' \
     --header 'authorization: Basic <secret_key_id:secret_key_password>' \
     --header 'content-type: application/json' \
     --data 'See the payload below'
// Payload body
{
	"type": "OPEN_FINANCE",
	"state": "{state_value}",
	"code": "{code_value}",
	"id_token": "{id_token_value}",
	"error": "{error_value}", // can be present or not
	"error_description": "{error_description_value}", // can be present or not
}
Where:
| Parameter | Required | Description |
|---|---|---|
type | true | The value of the type query parameter received. Must be set to OPEN_FINANCE. |
state | true | The value of the state query parameter received. |
id_token | true | The value of the id_token query parameter received. |
error | false | The value of the error query parameter received. Note: If you do not receive any value, do not send this parameter through. |
error_description | false | The value of the error_description query parameter received. Note: If you do not receive any value, do not send this parameter through. |
Once you send a successful POST request, you will receive a 200 OK response with the following payload:
{
    "id": "id_of_the_payment_intent",
		// rest of the payment intent body
}
Using the payment-intent.id, you will know which user this response refers to and can then:
- Redirect them to your payment processing screen.
- Listen for webhooks matching this
payment-intent.idto understand the status of the payment.
Resources
Sample HTML redirection page
Below is the HTML of the redirection page we recommend you implement.
<html lang="en">
  <head>
    <meta charset="UTF-8" />
    <meta name="viewport" content="width=device-width, initial-scale=1.0" />
    <title>Open Finance Payment Inititation</title>
    <style>
      @import url("https://fonts.googleapis.com/css2?family=Source+Sans+3:wght@400;600;700&display=swap");

      body {
        background-color: #fff;
        padding: 2rem 1rem;
        margin: 0;
      }
      main {
        width: 100%;
        height: 100%;
        display: flex;
        flex-direction: column;
        justify-content: center;
        align-items: center;
        text-align: center;
      }

      p {
        font-family: "Source Sans 3", Arial, Helvetica, sans-serif;
        line-height: 150%;
        font-size: 1.25rem;
        font-weight: 600;
        color: #000;
        margin: 0;
        margin-top: 1rem;
        margin-bottom: 2rem;
      }
    </style>
  </head>
  <body>
    <main>
      <img
        id="redirect-image"
        src="data:image/png;base64," <!-- Use a base64-encoded image here -->
      />

      <p id="redirect-message"> Você está sendo redirecionado com segurança através do Open Finance. </p> <!-- Modify your redirect message here -->

      <img
        id="company-logo"
        src="data:image/png;base64," <!-- Use a base64-encoded image here -->
      />
    </main>
    <script> <!-- Required script: do not change. -->
      var origin = window.location.origin;
      var pathname = window.location.pathname || '';
      var query = window.location.search || '';
      query = query + (query ? '&' : '?') + 'sanitized=true';
      var hash = window.location.hash || '';
      hash = hash.replace(/^#/, '&');
      window.location = origin + pathname + query + hash;
    </script>
  </body>
</html>
HTML page branding options
The HTML page can be modified according to your brand needs as follows:
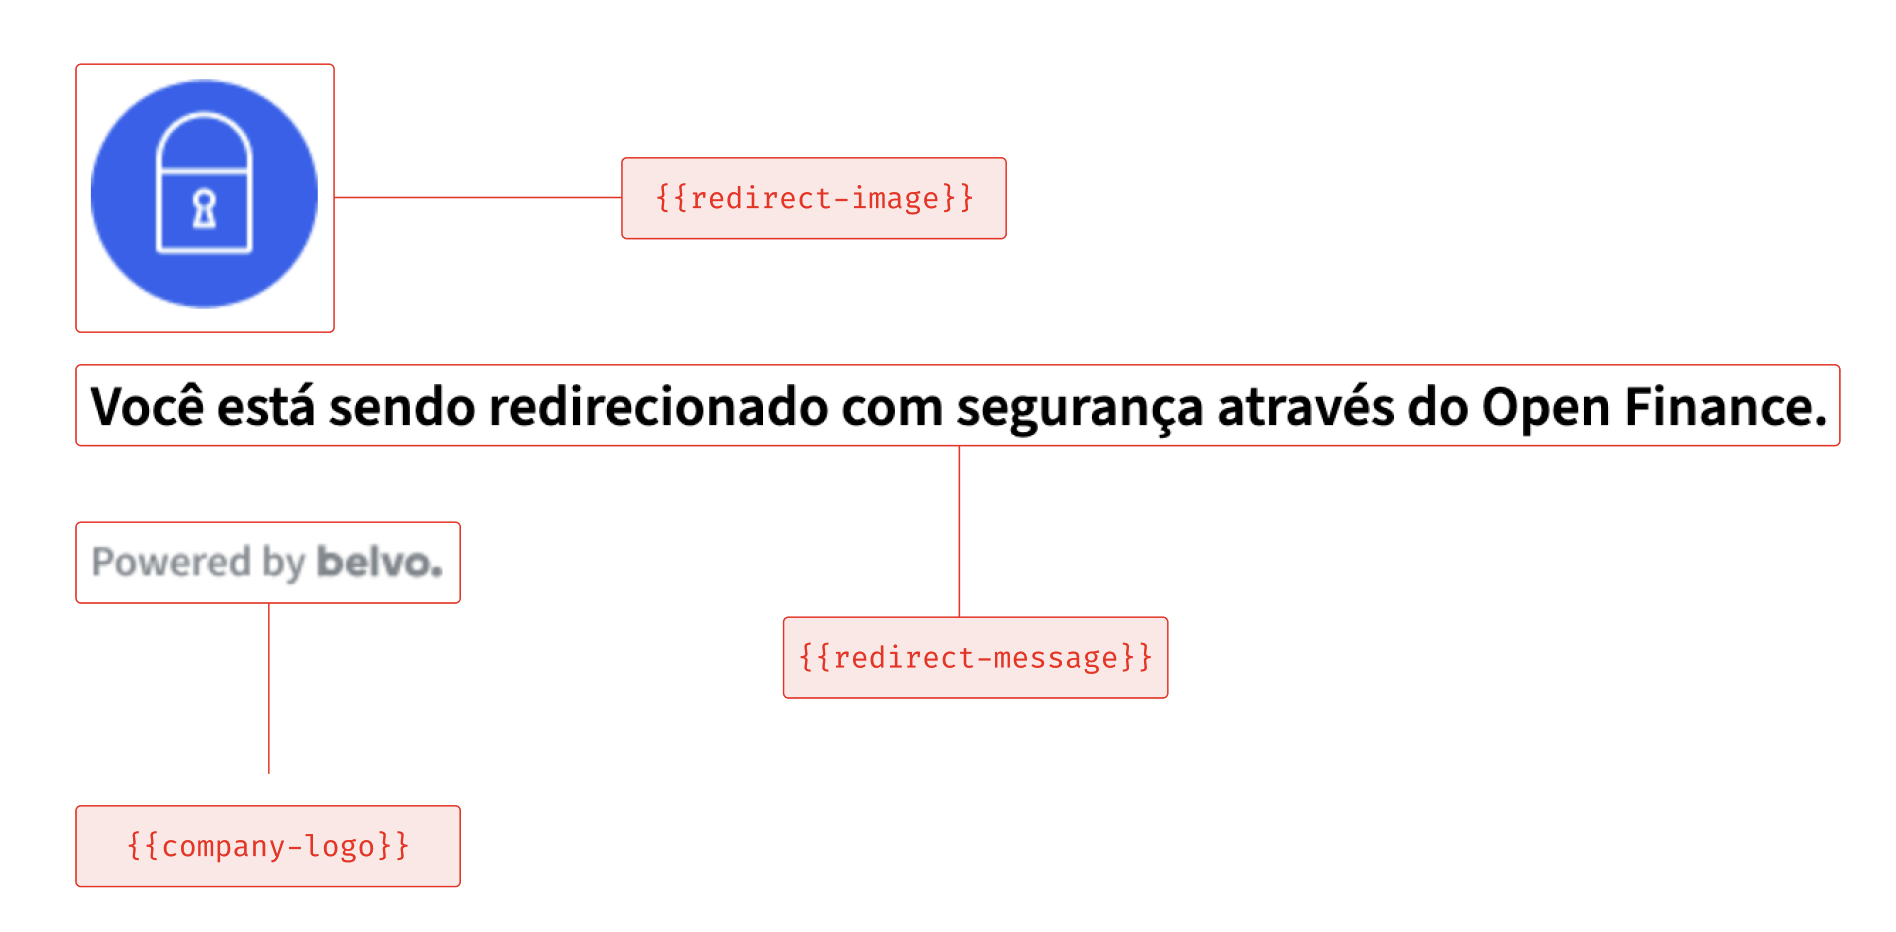
| HTML ID | Description |
|---|---|
redirect-image | A redirect image (or icon). We recommend that this is a base64-encoded image to improve speed. |
redirect-message | The message that your customer will briefly see when redirected to this page. |
company-logo | Your company logo. We recommend that this is a base64-encoded image to improve speed. |
Updated 5 months ago